I will never forget when I tasted Cherries for the first time. It was at a market in China and the berries were really dark and juicy. It was love at first bite!
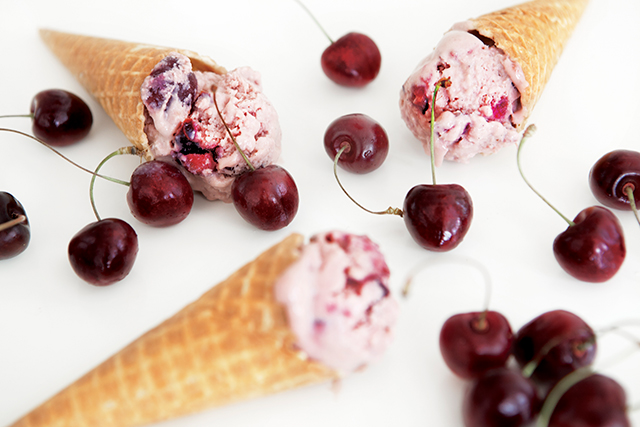
Since this divine experience almost 15 years ago I have been practising the art of tying a knot on the stem, and it is now my go to party trick. You will have tons of opportunity to practise after making this ice cream since the recipe calls for 400 g (14 oz) of pitted berries.
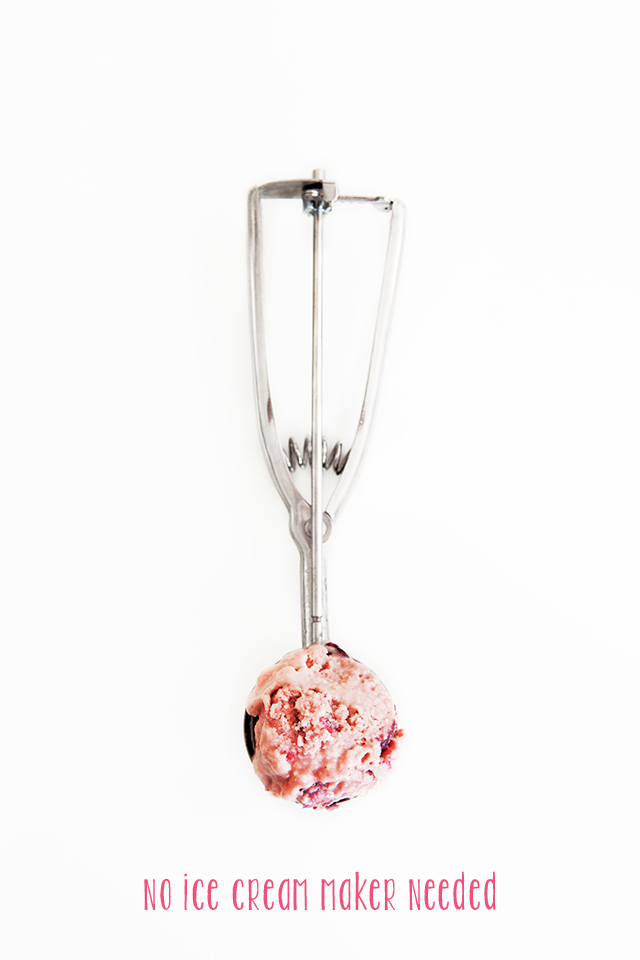
You do not need an Ice Cream Maker to make this Cherry Ice Cream! The recipe is simple, but a little time consuming since the cream needs to cool down in the fridge before placing it in the freezer. Furthermore you will have to whisk/stir the ice cream every 30 minutes while it is freezing, to prevent crystallisation.
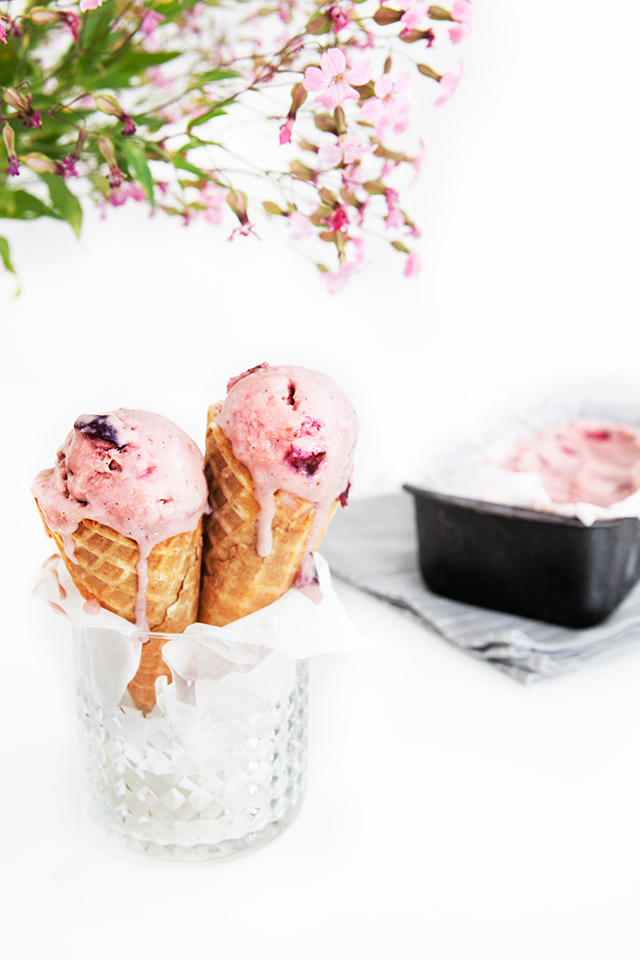
That is why I recommend you make the base before you go to work, so that the cream will be cold in the afternoon. Then you have the evening to stir every 30 min, and fresh cherry ice cream to serve with the morning waffles the following day.
Happy Summer Y’all
Recipe: Cherry Ice Cream
If you have an ice cream maker, you should use it – just follow the instructions for your machine. Remember to weigh the berries after you have removed stems and pitted them.Ingredients
- 400 g (14 oz) Cherries (pitted and stems removed)
- 1 tsp Lemon Juice
- 1/2 Vanilla Bean
- 375 ml (1.5 cups) Heavy Cream
- 1/2 tsp Salt
- 175 ml (0.5 cups + 3 tbsp) Whole Milk
- 6 eggyolks
- 1 dl (7 tbsp) Sugar
Directions
- Place 2 Ice cream containers in your freezer
- Pit the berries, remove the stems and cut the berries in half (if large then quarter them)
- Place 1/3 of the berries in a bowl and drizzle with the Lemon Juice. Place in the fridge
- Place the rest of the cherries, along with vanilla bean (scrape out the seeds as well), Heavy Cream and Salt in a pot. Bring to a boil. Lower the heat and let simmer for 2 minutes.
- Remove the vanilla bean, and pour the rest to a blender and blend until smooth. Add the milk while you are blending
- Meanwhile whisk the yolks and sugar until light and fluffy
- Pour the cherry cream slowly, in a thin but steady stream into the egg mixture while whisking constantly
- When well incorporated pour liquid back into the pot. On medium heat, warm the mixture while stirring constantly until the liquid has thickened and covers the back of a spoon
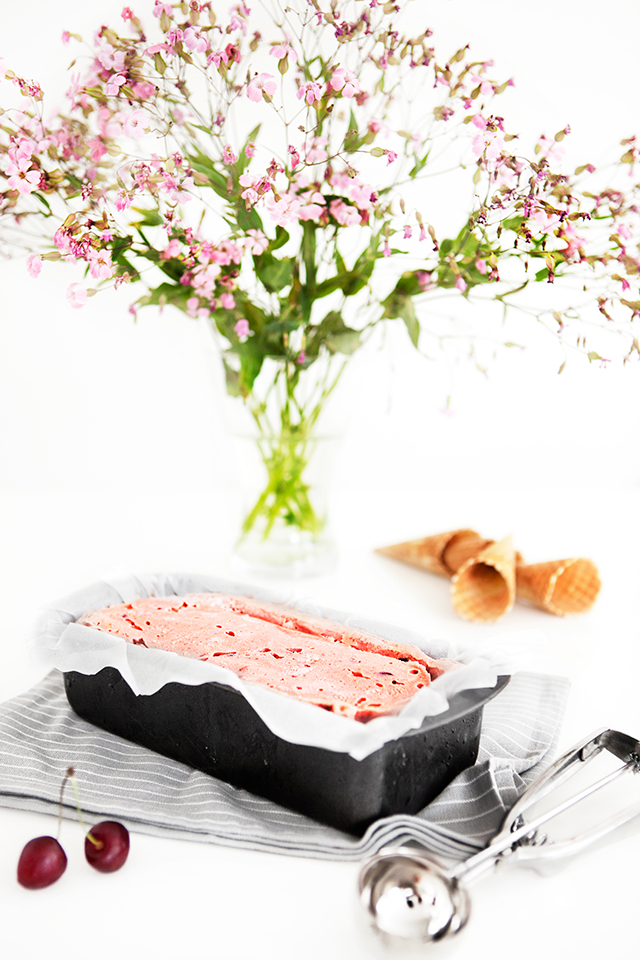
- Now strain the mixture into one of the cold containers you placed in your freezer. Then place in the fridge over night
- The following day, stir in the lemon marinated cherries into the ice cream and pour into the container still in the freezer. (Or use your Ice cream maker)
- Place your ice cream in the freezer and stir every 30 minutes to prevent the ice cream from crystallising. Repeat until the ice cream is to thick to stir