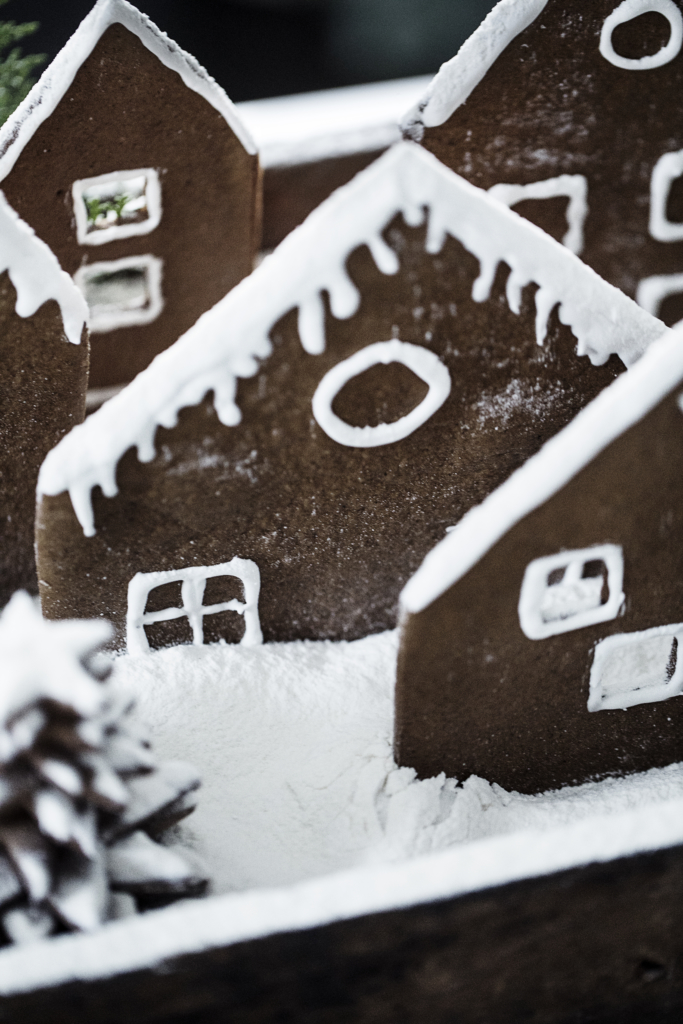
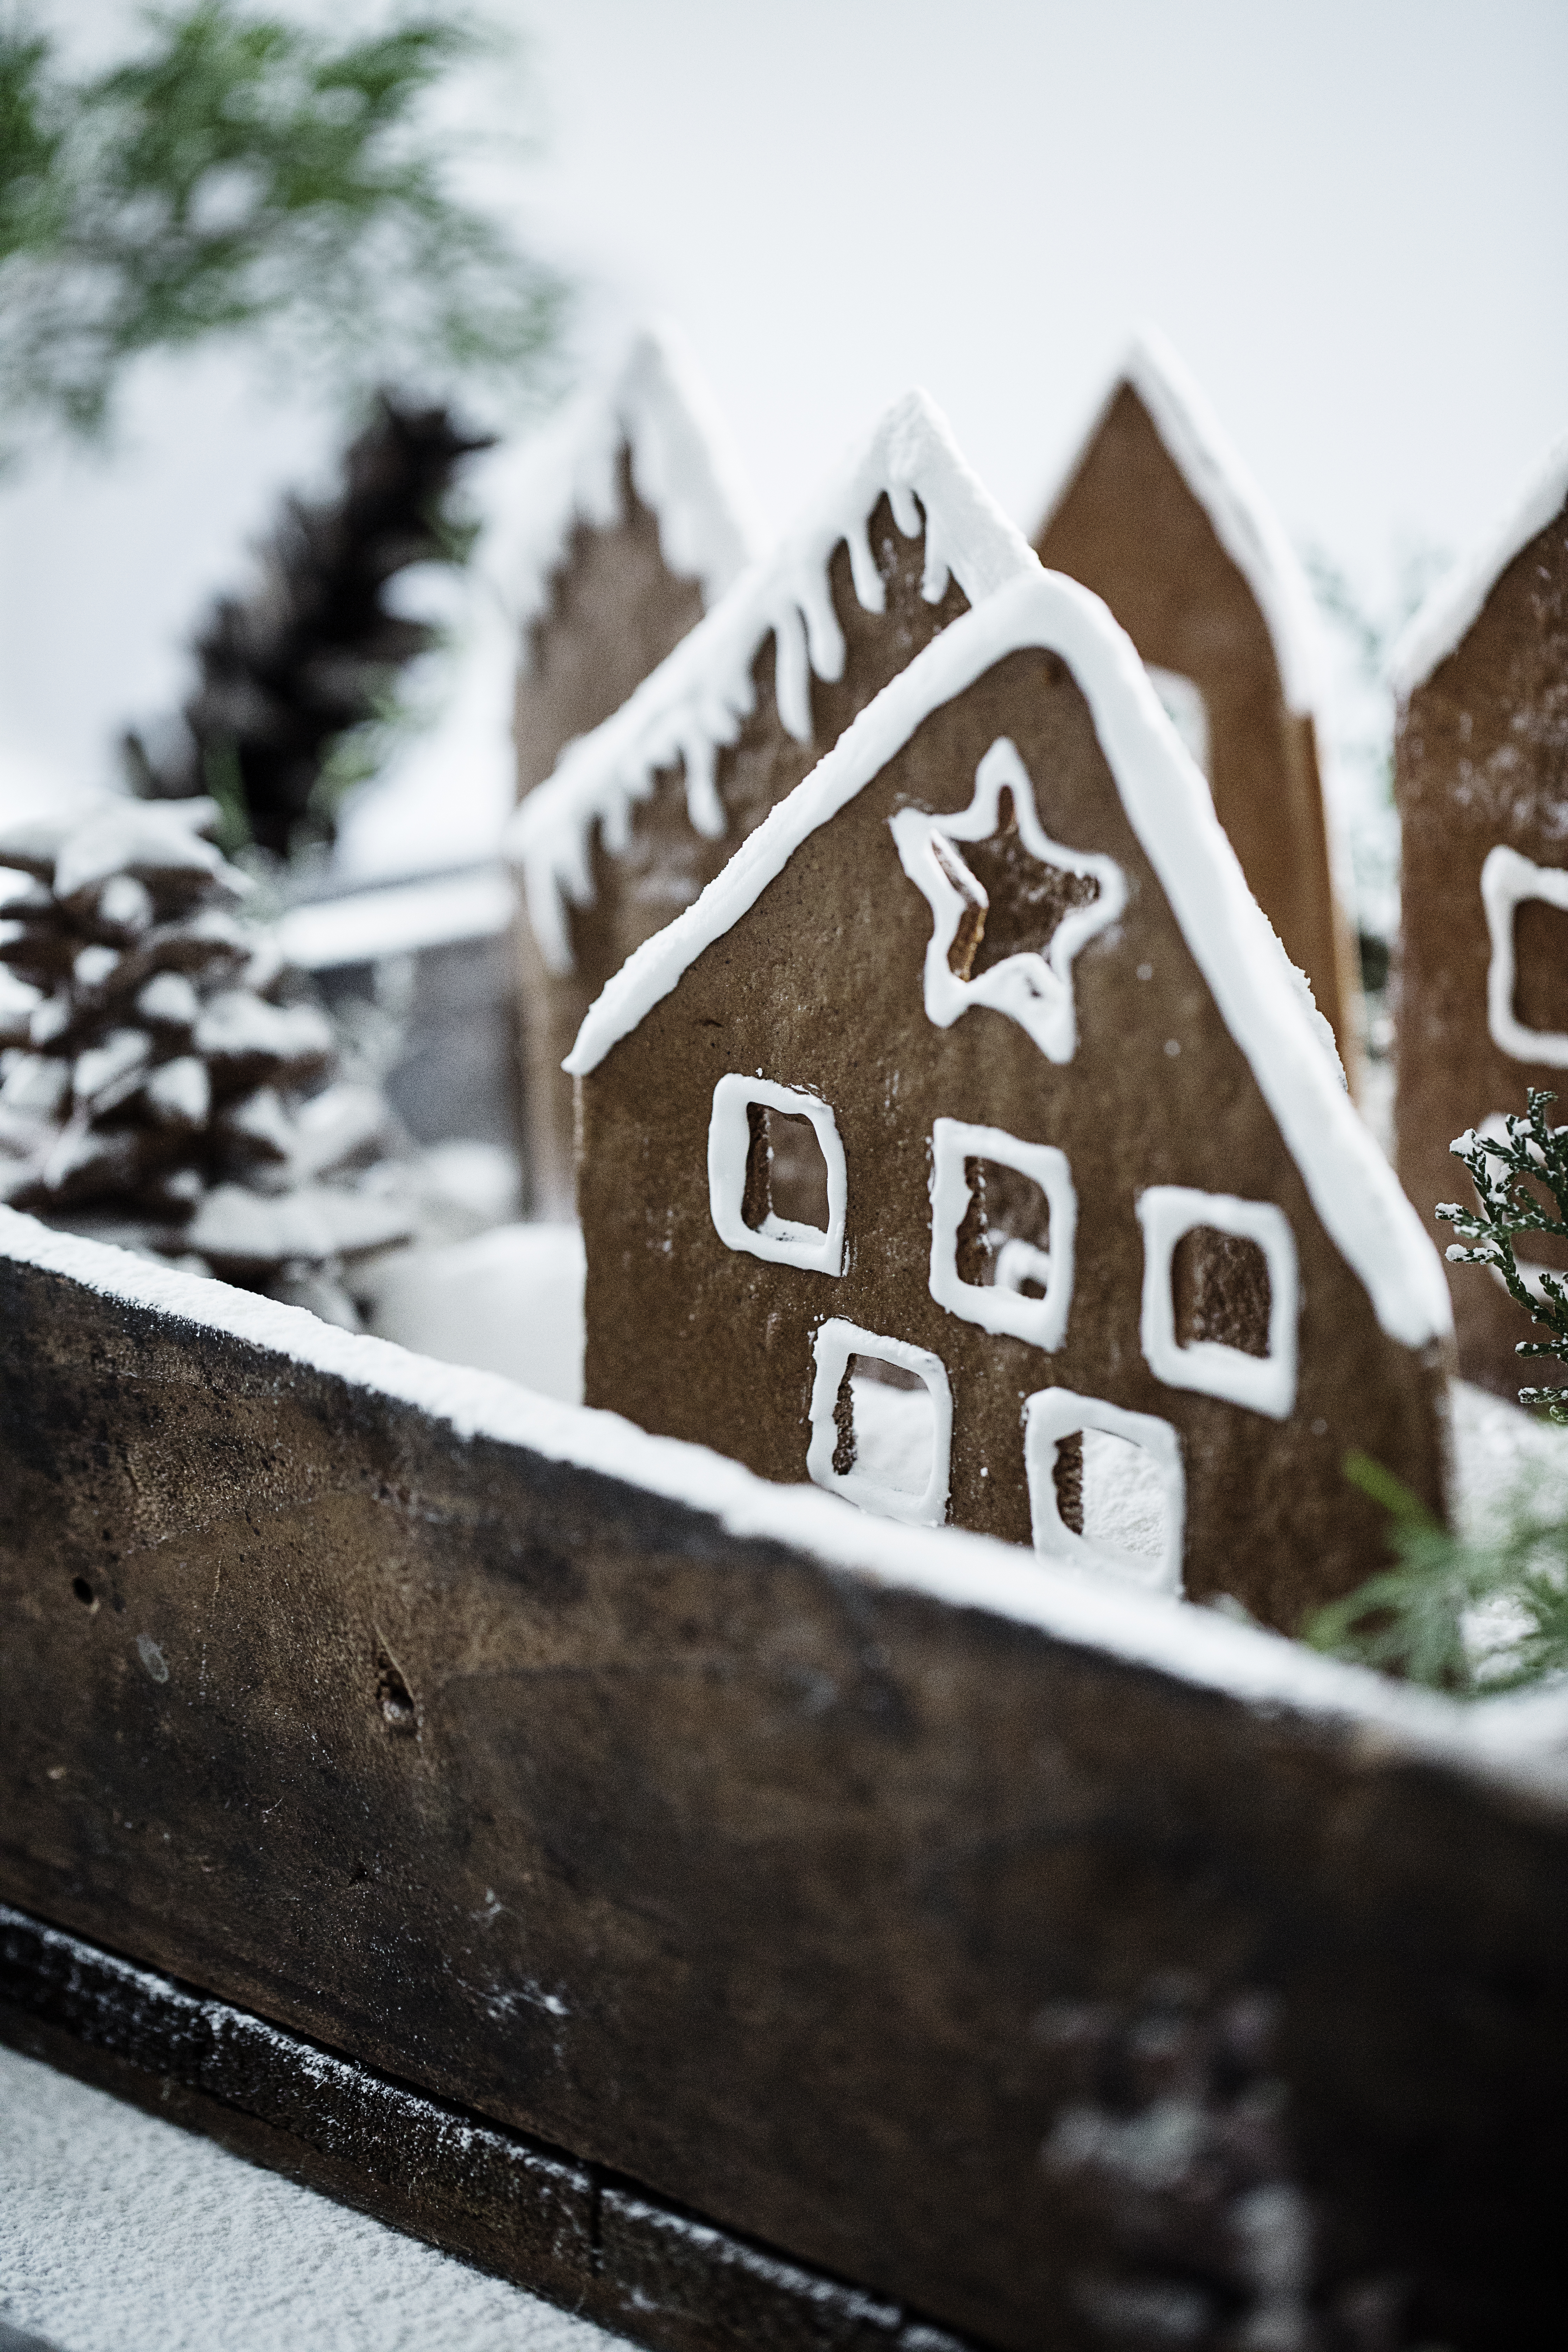
I have a confession to make. I am the least handy person and probably the worst DIY type on the planet. I can by no means use a glue gun and I can definitely not draw or cut a straight line (hence the terrible job I did icing these houses).
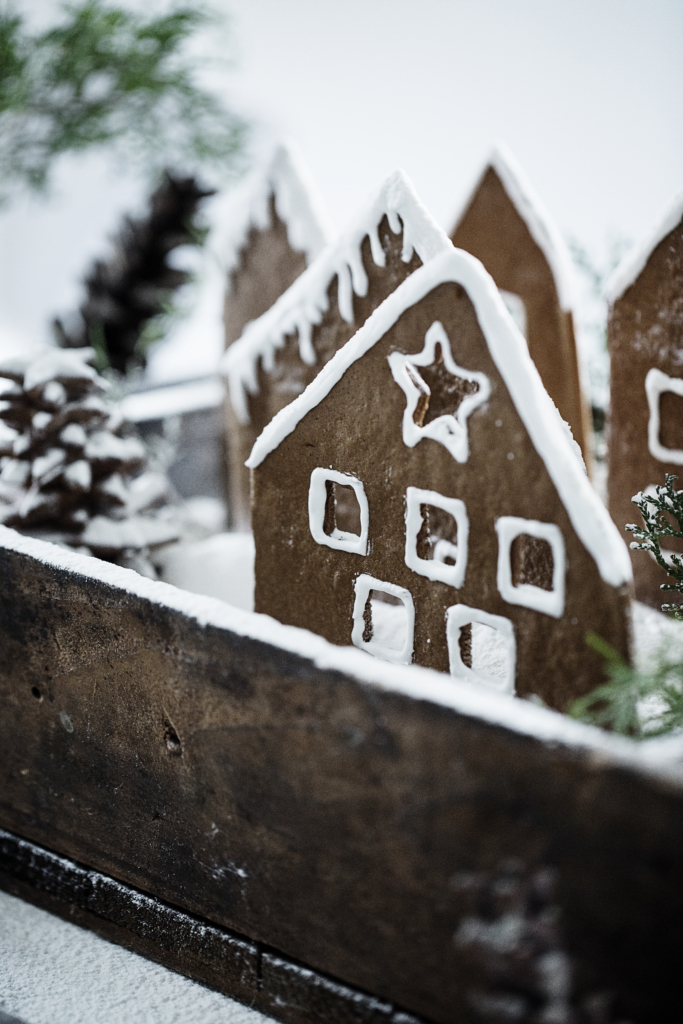
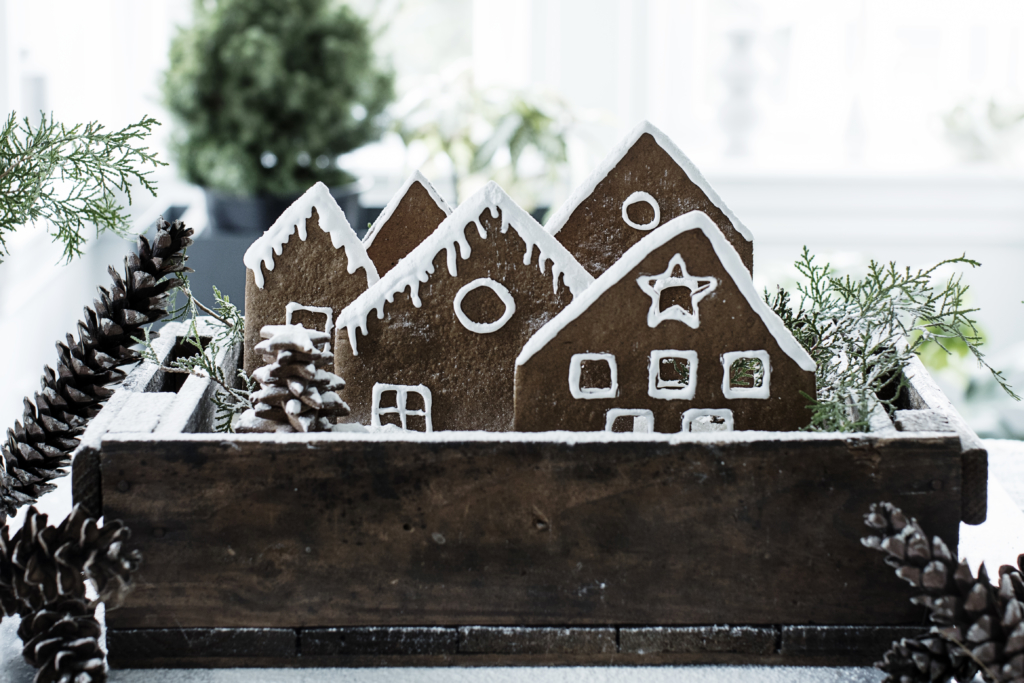
BUT that hasn’t stopped me in the creation of this blog and today I am showing you how to make ‘pretty from a far’ gingerbread houses without actually having to get the sides to stay together and having the house stand on it’s own. It’s the simplest way imaginable and my home smells like a cookie factory. Yum!
I then got the great idea to place the box with houses on my porch, you know, so that every time I or my mailman walk by we could enjoy the spicy sniff of Christmas – yeah that was the WORST idea anyone has ever gotten! When I came out the following morning, dear, raccoons and squirrels had had the holiday feast of a lifetime. They ate every single piece!
Please note that there are a lot of spices in these houses so the are not for eating. Try these chocolate gingerbread cookies instead, they are excellent for eating.
Here is some more Holiday Inspiration from the archives:
- How to decorate like a Scandi
- Holiday Brownies
- Salted Caramels
- Chocolate Bundt Cake
- Spiced Old Fashioned
Recipe: Gingerbread Houses
These are not meant for eating, for decorations only. Take a look at these Chocolate Gingerbread Cookies, they are excellent for eating!Ingredients
- 1 stick/115 g Unsalted Butter
- 200 g /3/4 cup Golden Syrup or Molasses
- 150 g / 1 cup (lightly packed) Brown Sugar
- 2 tsp Cinnamon
- 2 tsp Ginger
- 2 tsp Cloves
- 1/4 tsp Cardamom
- 1 tsp Baking Powder
- 1 Egg
- 500 g /2 ½ cups Flour
- Sugar for snow
Directions
- Over medium heat and in a small saucepan melt butter, syrup and sugar together. Make sure the sugar has dissolved completely. Remove from the heat and let chill slightly.
- Add spices and baking powder then the flour and egg. Knead together until you have a homogeneous dough.
- Shape the dough into a tight ball, wrap in plastic and chill in the fridge for at least 2 hours, preferably over night.
- While the dough is in the fridge make your templates for the houses. I used a piece of cardboard and just drew them by hand and cut them out. You can probably find templates online somewhere, but I do not have the patience for that.
- Divide the dough into two, then roll one part at a time out into a thin spread, approximately 3-5 mm (1/8 inch - 1/4 inch).
- Use a chopstick to draw on the dough (see video) then cut out houses, stars or whatever you can think off for your little village and place on a parchment covered baking pan.
- Keep rolling leftover dough until you have used up all the dough.
- Bake at 180°C (370°F) for 5-10 minutes, depending on your oven and the thickness of your dough.
- Let the houses cool completely before piping on the royal icing (see recipe below)
- Now pour lots of sugar into a container and place your beautiful house fronts in.

Recipe: Royal Icing
Ingredients
- 2 large Egg Whites
- 2 tsp Lemon Juice
- 330 g / 3 cups Powdered Sugar, sifted
Directions
- In a stand mixer or with electric whisk, whip the whites, sugar and lemon juice until thick and glossy. Approximately 10 minutes.
- Place the icing into a piping bag and pipe away!